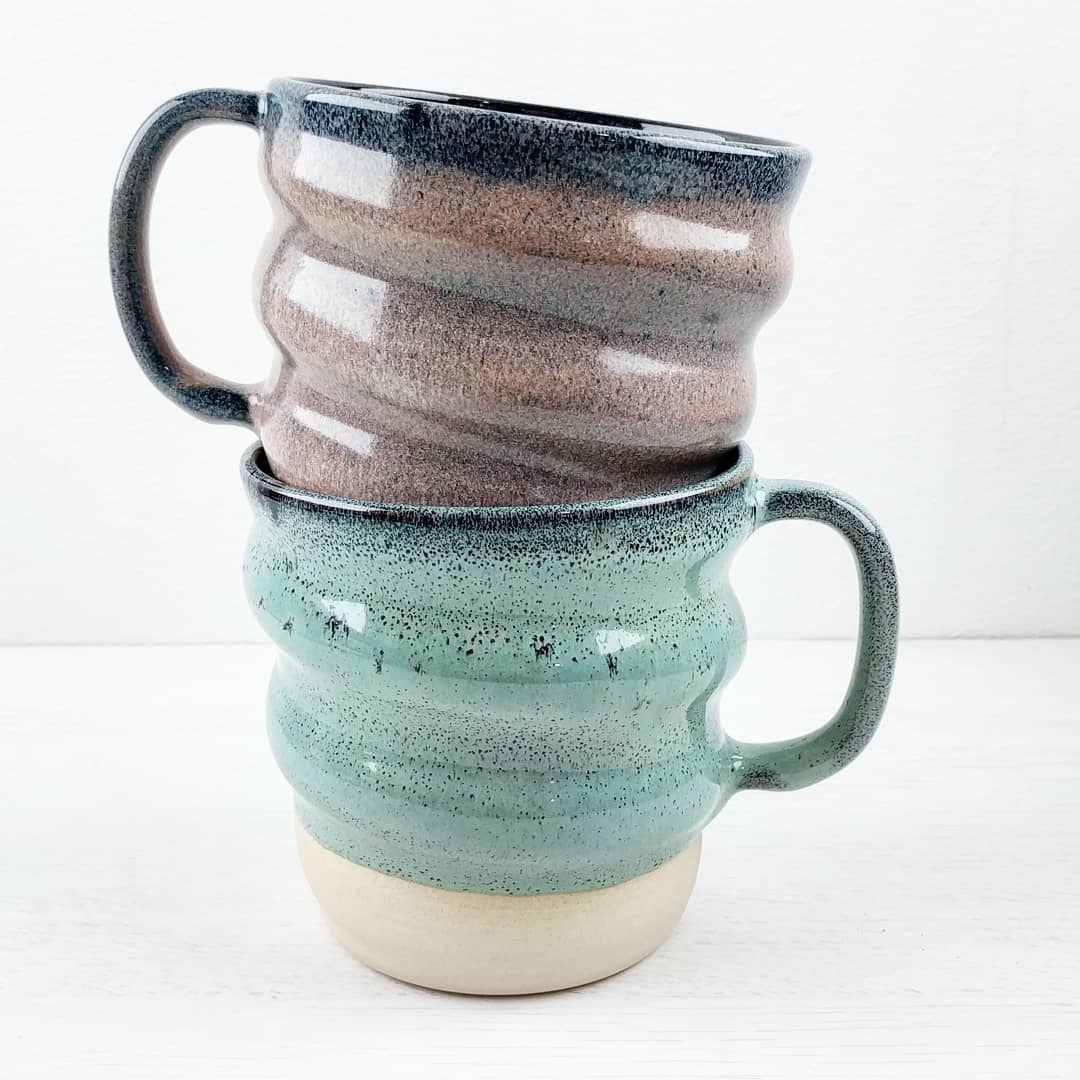
Swirly Form
Edited 2021 to add this video, which hopefully does a better job of explaining. I’ll leave the original blog post below as well.
The technique to add the Swirly pattern is incredibly simple, but there are a few tricks to make it easier. It's essentially an exaggerated pull, but moving up so fast relative to the wheel speed that after one rotation you're one Swirl higher.
The hand positioning I use is like this:
The inside finger is the one that bends the clay, the two fingers outside support the clay above and below to give a clean bend to the clay. With my hands in that position, I gently increase the pressure from the inside finger until the clay starts to bend outwards, then both hands move up together.
If you get the movement speed right, the lower outside finger should be in the groove left by the upper outside finger on the previous rotation.
If you're having trouble with it, my main advice would be to:
Get the clay really wet first. Your fingers need to slide smoothly over the surface and the process only takes a few seconds, so you can really get the clay saturated.
Slow the wheel down. The slower you do it, the more control you have. It's possible to do it in one fast motion but it's much harder to correctly judge the speed or to correct it as you go.
Practice on smaller/thinner pieces. The thicker the walls of a piece, the harder it is to bend the clay. This makes every part of the process trickier too.You can't easily trim the walls after you've done this, so you want to throw to the final thickness.
I use my fingertips to burnish the outer walls when the clay is leather hard. I also use a strip of flexible plastic to burnish the rim at the same time. I leave them on the batt until then as it makes this stage easier, then wire them off after. At this point they should be solid enough to easily remove them from the batt without deforming or marking them.
If they're becoming mugs, I'll leave them overnight in a sealed plastic container then add handles.
That's all there is to it! Please try it and let me know how you get on, message me or use the hashtag oldforgecreations (I often miss @mentions on Instagram and there's no way to find them afterwards, but I'll see the tag). Good luck!


