
Simple and Cost Effective Photobooth for Product Photography
The quality of photography is one of the most important elements to the success of posts on Instagram and Pinterest, and the two main factors in that are lighting and background. In this post I’ll run you through the setup I use for my still photography, which gives me a consistent look with minimal effort and for around £100 total.


The setup is really simple. The main components are 2 LED light panel, an IKEA surface, and a wood-effect wallpaper back. The cheap metal shelving just happens to be the perfect size for a friction fit with the light panels and gives a very practical permanent home for everything without wasting much studio space.
Photobooth Equipment
Light Panels
US Link / UK Link - To be honest, if all you take from this blog post is these panels, you’ll be 90% of the way there. These are bright (48w LED is around 480w equivalent incandescent), diffused (the large surface acts like a photography soft box), neutral (6500k white should give accurate colour), and cheap (£25 each).
They are designed to be ceiling panels, so will need to be wired in to a plug and supported in some way.
Surface
I got mine for about £5 in the bargain corner of my local IKEA. They have a selection of leftover/damaged surfaces from tables and cupboards there, so you can pick up a very cheap but photogenic surface in a selection of colours.
Backdrop
US Link / UK Link - I bought a roll of wood effect wallpaper and stuck it to a board. The linked examples are the closest I could see to what I used, but there are a thousand different styles you could pick from. (£10-15)
Racking
US Link / UK Link - Just a cheap adjustable racking system that gives a useful permanent home for the photobooth, meaning you don’t have to set it up every time to want it (£30)
Props
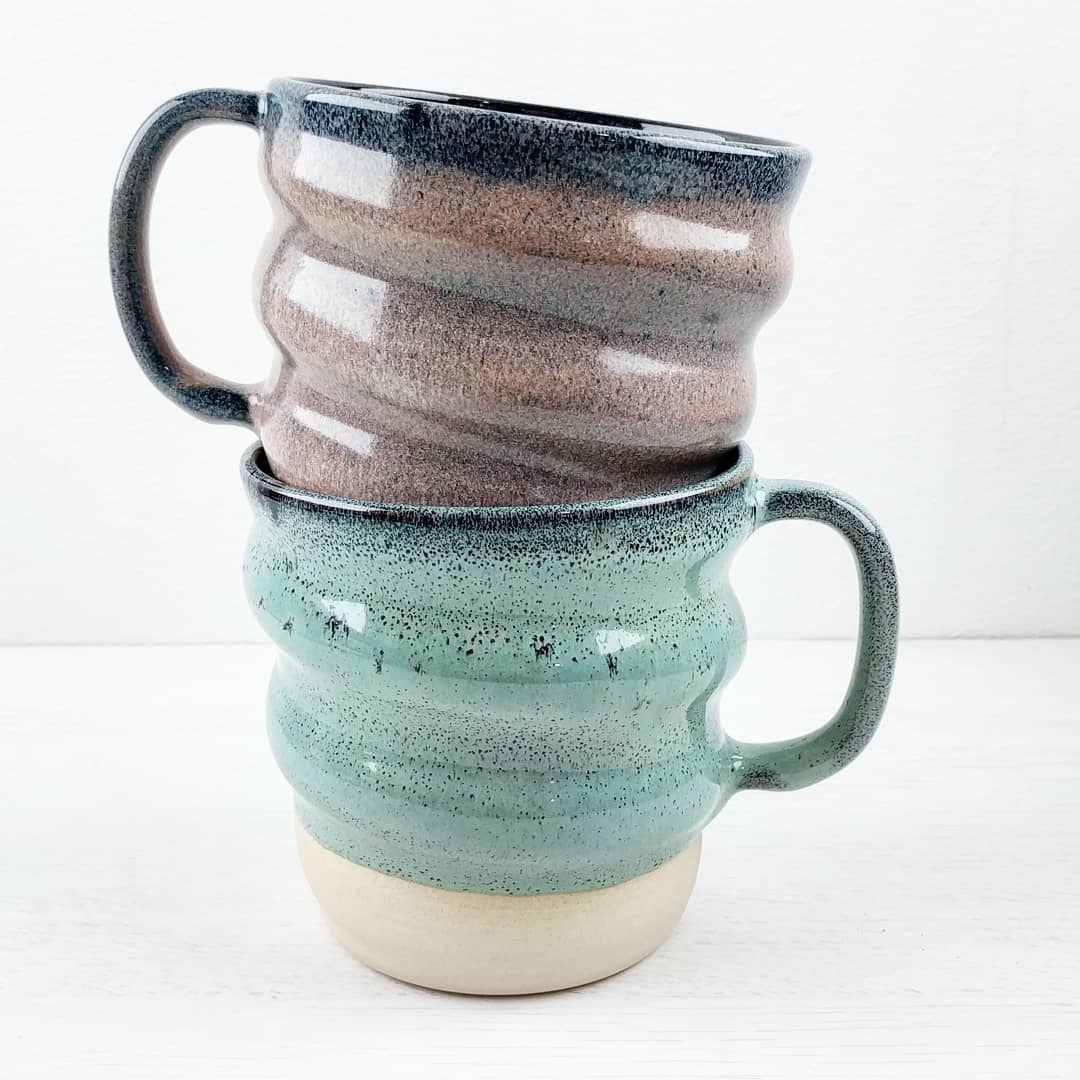
Adding props to the background of an image is an easy way to make a piece feel like it’s in a bright and airy showhome, without needing the rest of the home. I just have a couple of coffee/tea props (the main one being this glass jar with coffee beans) and coasters. They add a little context and interest without any effort.
Diffusers
US Link / UK Link - These break up the edge of the link just a fraction more, so there won’t be clearly defined edges in reflections on glossy glazes, but they’re definitely not essential. The frame of the rack makes it very easy to add them though.

Photography Equipment
With this setup, you should be able to get great photos with your phone. The vast majority of the images on my Instagram feed were taken with my phone, and I only upgraded my photography equipment for 4K artsy videos.
That said, if you want a camera and lens that can get great videos and still images, this is what I’m using
Camera: Sony a6400 - US Link / UK Link
Main Lens: Sigma 30mm f1.4 - US Link / UK Link
Macro Lens: Sony 30mm Macro - US Link / UK Link
They’re definitely not essential, but here are examples of the sort of quality you can get with minimal/no editing (if you take a moment when choosing camera settings)


If you like this sort of content and want to support the creation of more, I now have a Patreon specifically for it or a page on my website if you just want to make a single donation.


